Getting started with Corpus
Discover the steps to educate your chatbot and tailor its settings page to address typical obstacles and refine its operational capabilities.
Welcome to Corpus! This guide will walk you through the initial steps to get your chatbot up and running, ensuring it becomes a seamless part of your customer support strategy.
Here are the steps we're going to cover
flowchart LR
    A(Adding Knowledge Base) --> B(Training Chatbot)
    B --> C(Customizing Widget)
C --> D(Sharing Chatbot)Adding your knowledge
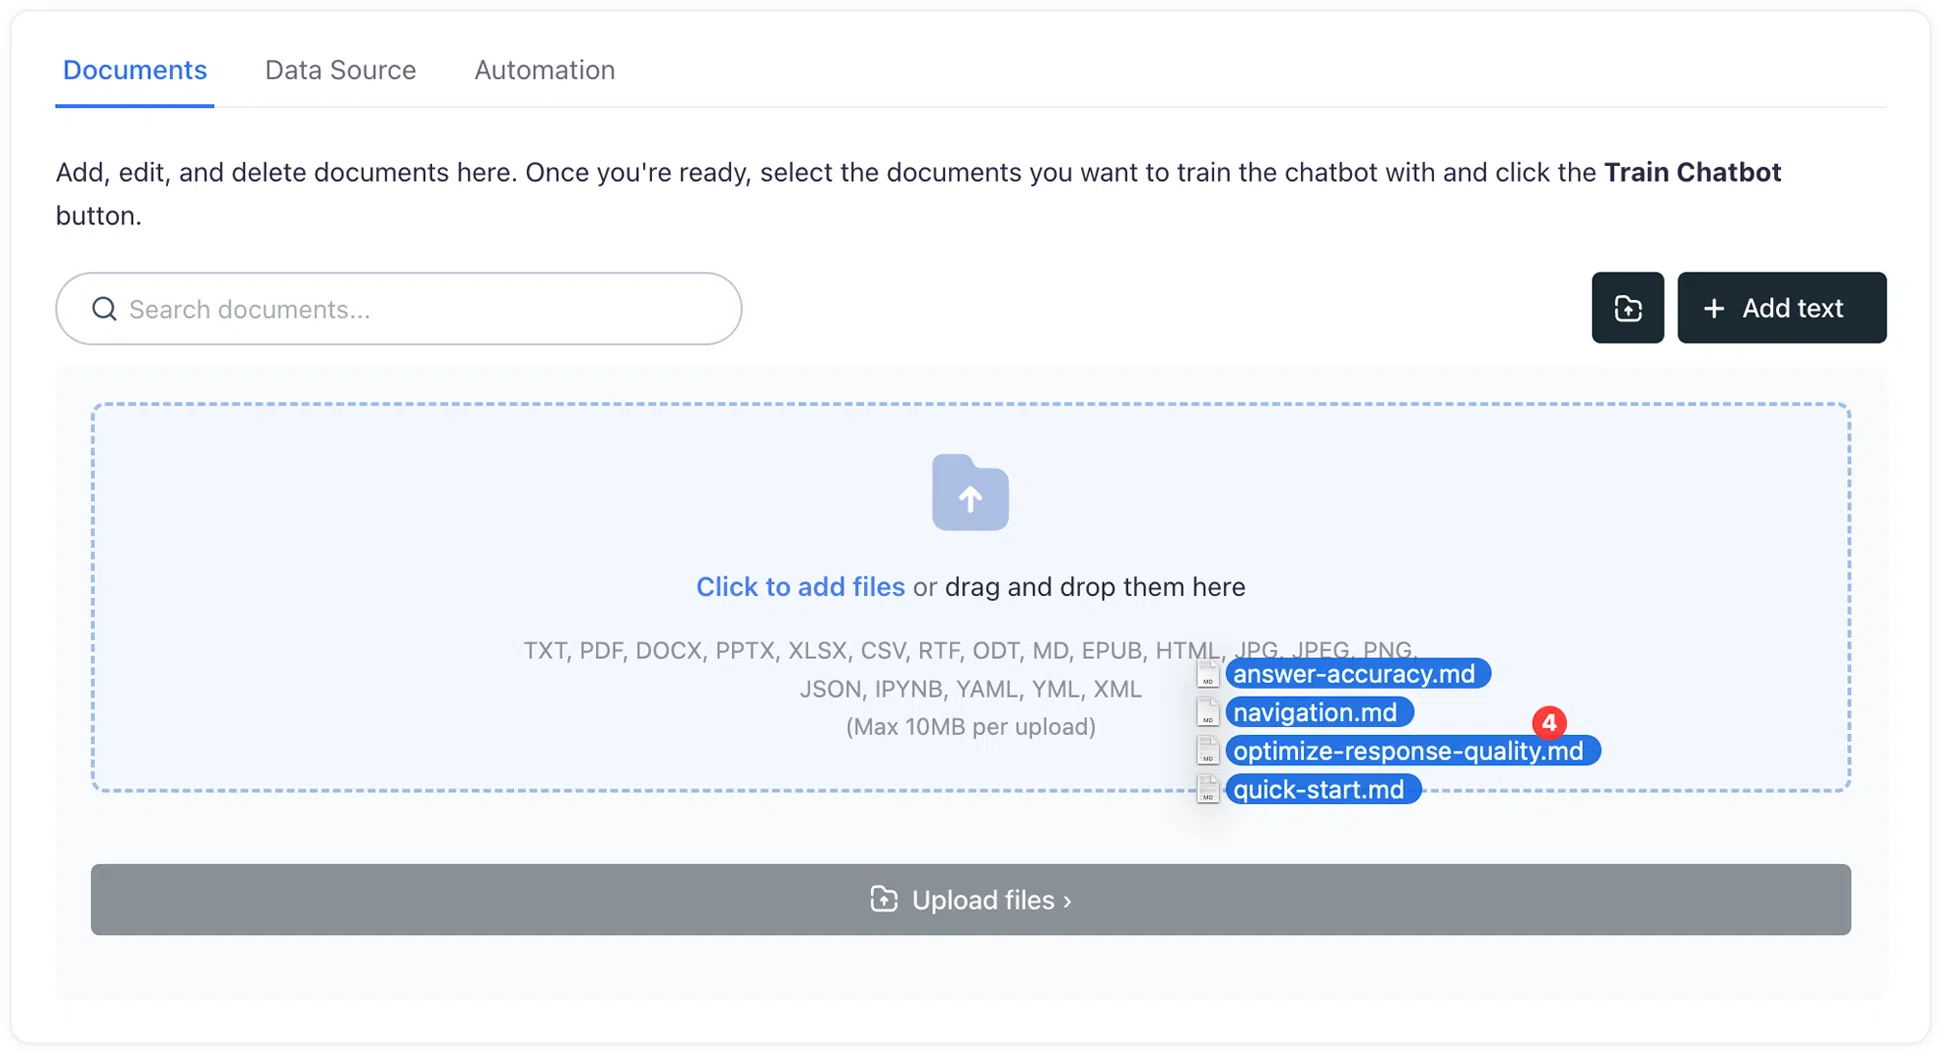
After you've signed up and are ready to create your first chatbot, the first task is to feed it information.
- Upload knowledge: You can upload various file types including MS Office documents, PDFs, images, and HTML files.
- Create documents: Directly within the app, you can create documents that serve as the foundation of your chatbot's knowledge.
- External data sources: Corpus can fetch data from a multitude of external sources such as websites, data feeds, and various platforms including Notion, Google Docs, Intercom, Hubspot, Zendesk, and even YouTube videos.
- Database connection: Connect Corpus directly to your database to pull in live data for the most up-to-date information.
Make sure to upload or link all the relevant data your chatbot will need to assist your customers effectively.
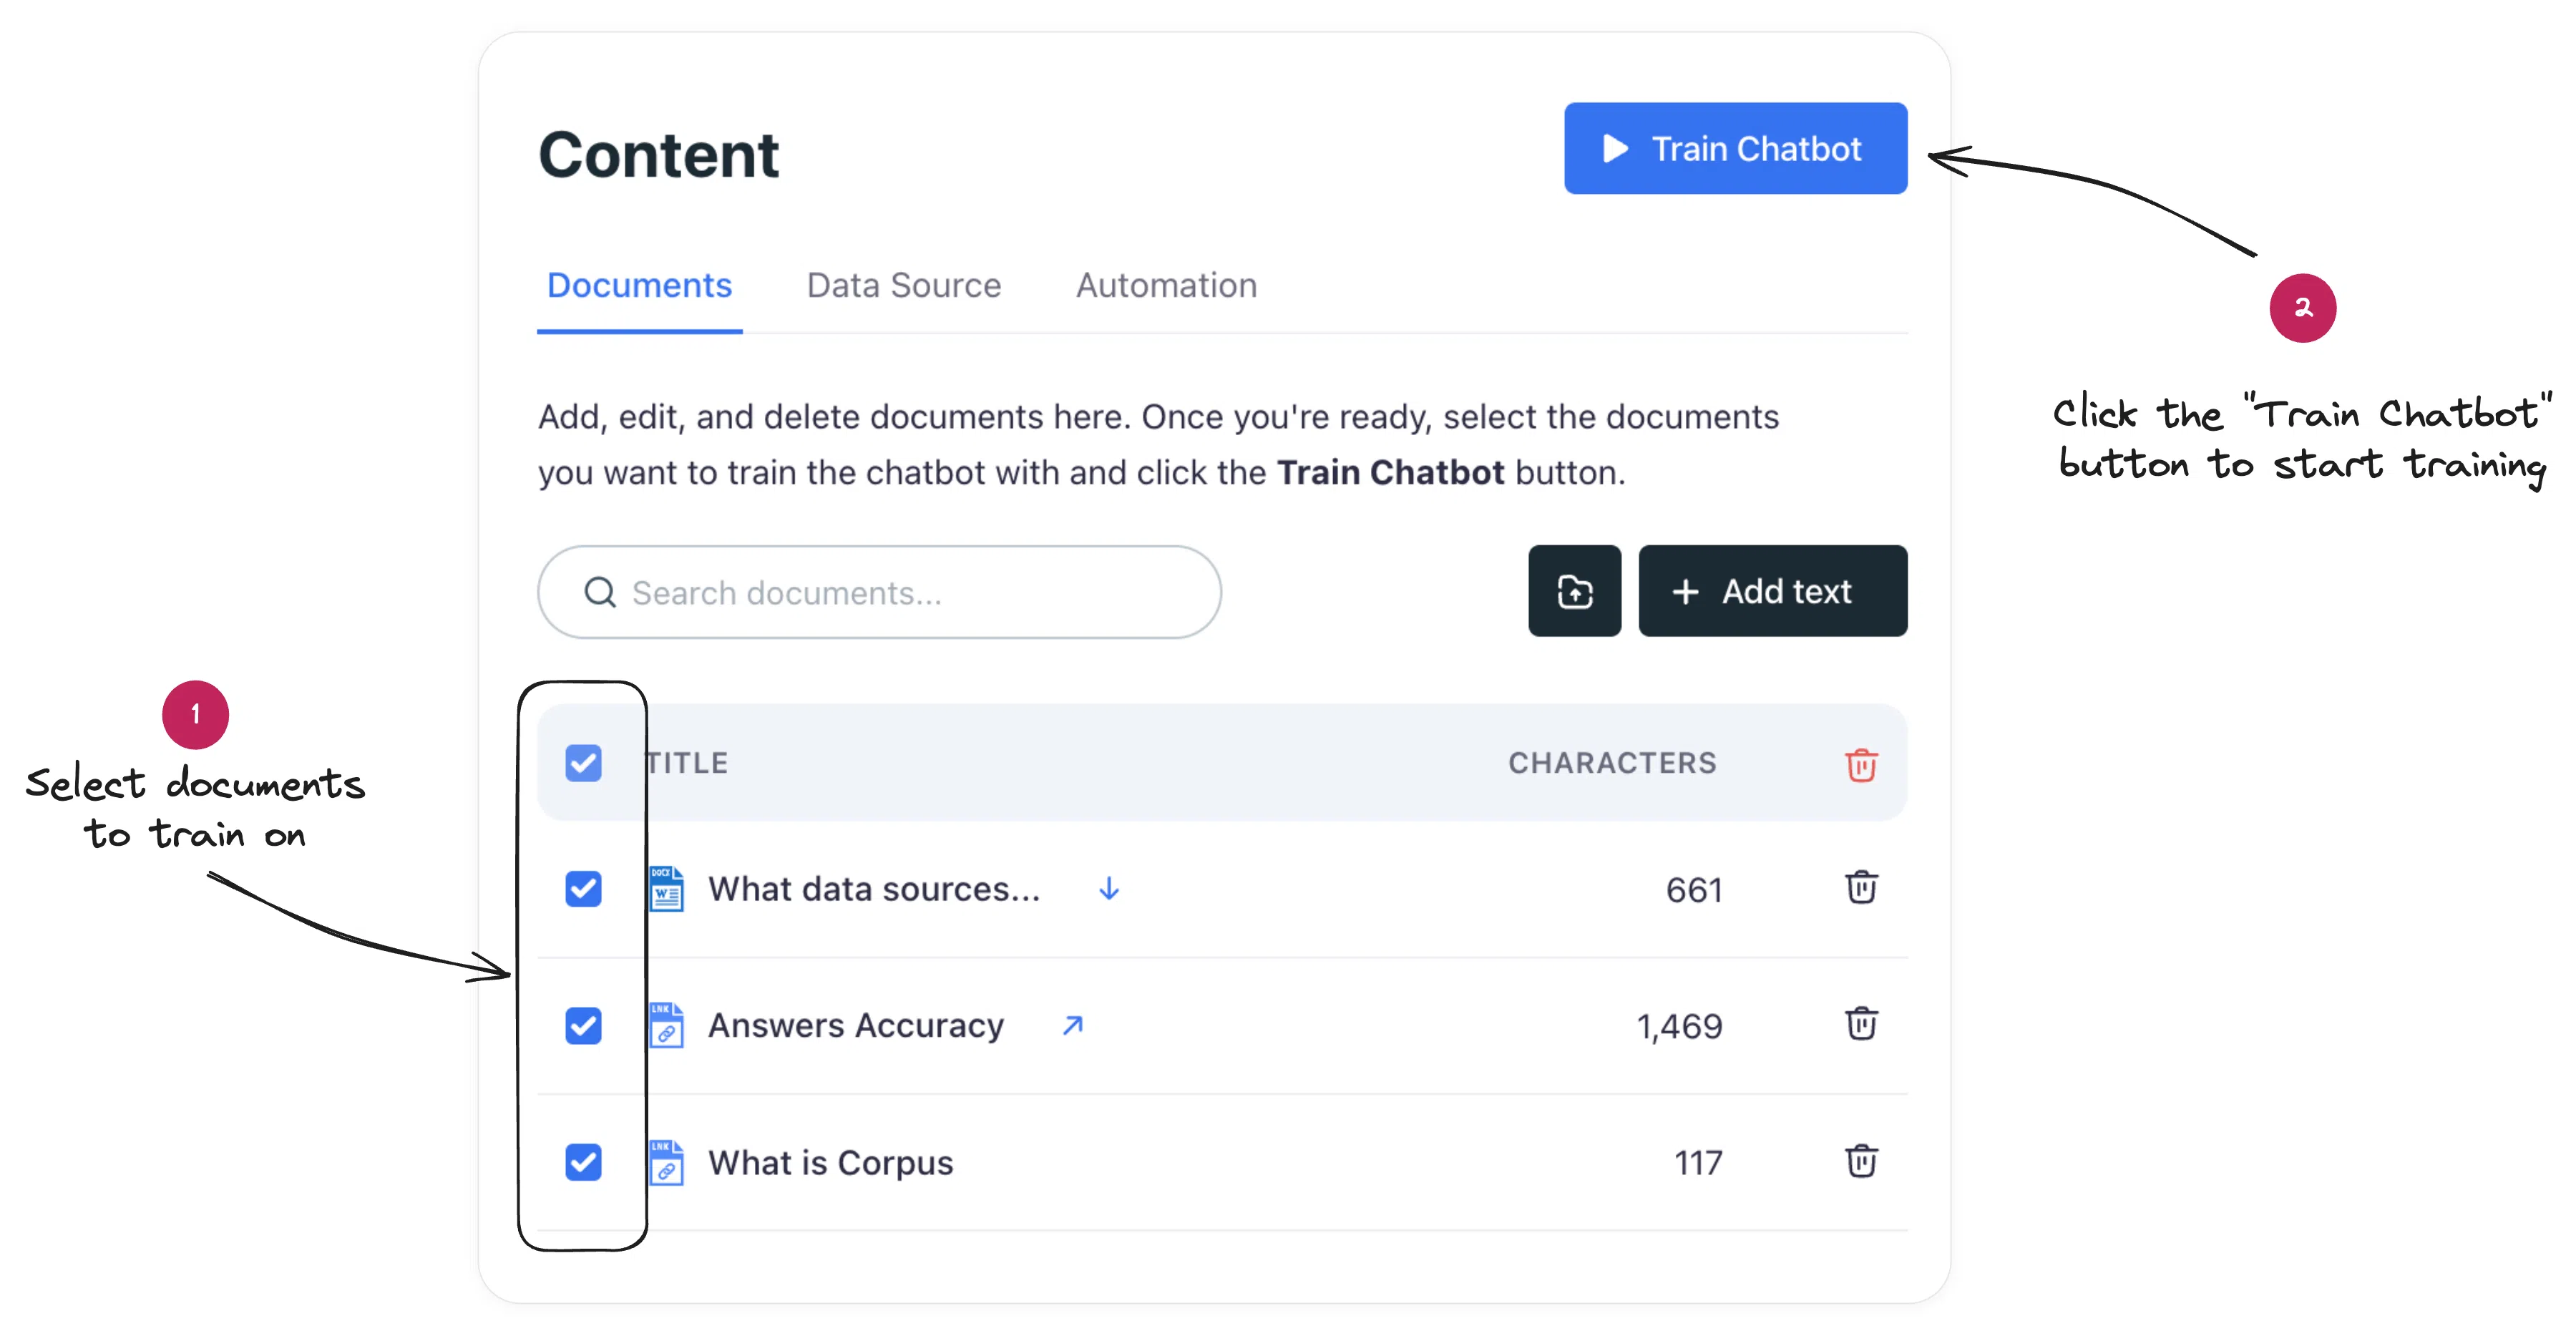
Training your chatbot
Once your knowledge base is connected and documents are added to Corpus, the next vital step is to train your chatbot on this data. This process is essential as it equips your chatbot with the ability to generate answers that are accurate, relevant, and tailored to your specific business needs.
Customizing your chat widget
Now, let's make the chatbot truly yours by customizing its appearance and behavior.
- Personalize appearance: Choose your chatbot's name, set the colors, pick an avatar, and select a theme that aligns with your brand identity.
- Home screen settings: Add a custom greeting and prompt suggestions to give users a clear starting point.
- Personality selection: Choose the chatbot's personality to match its role – be it a friendly assistant or a knowledgeable technical advisor.
- Contact form Forwarding: Specify the email address where the contact forms should be sent.
- Launcher customization: Tailor the chatbot launcher's look to catch the user's eye and invite interaction.
Adjust these settings to ensure your chatbot feels like an integral part of your team.
Lead Generation
In addition to personalizing the look and feel of your chat widget, Corpus provides powerful lead collection capabilities. The system can identify potential leads based on user interactions and inquiries, ensuring no opportunities slip through the cracks.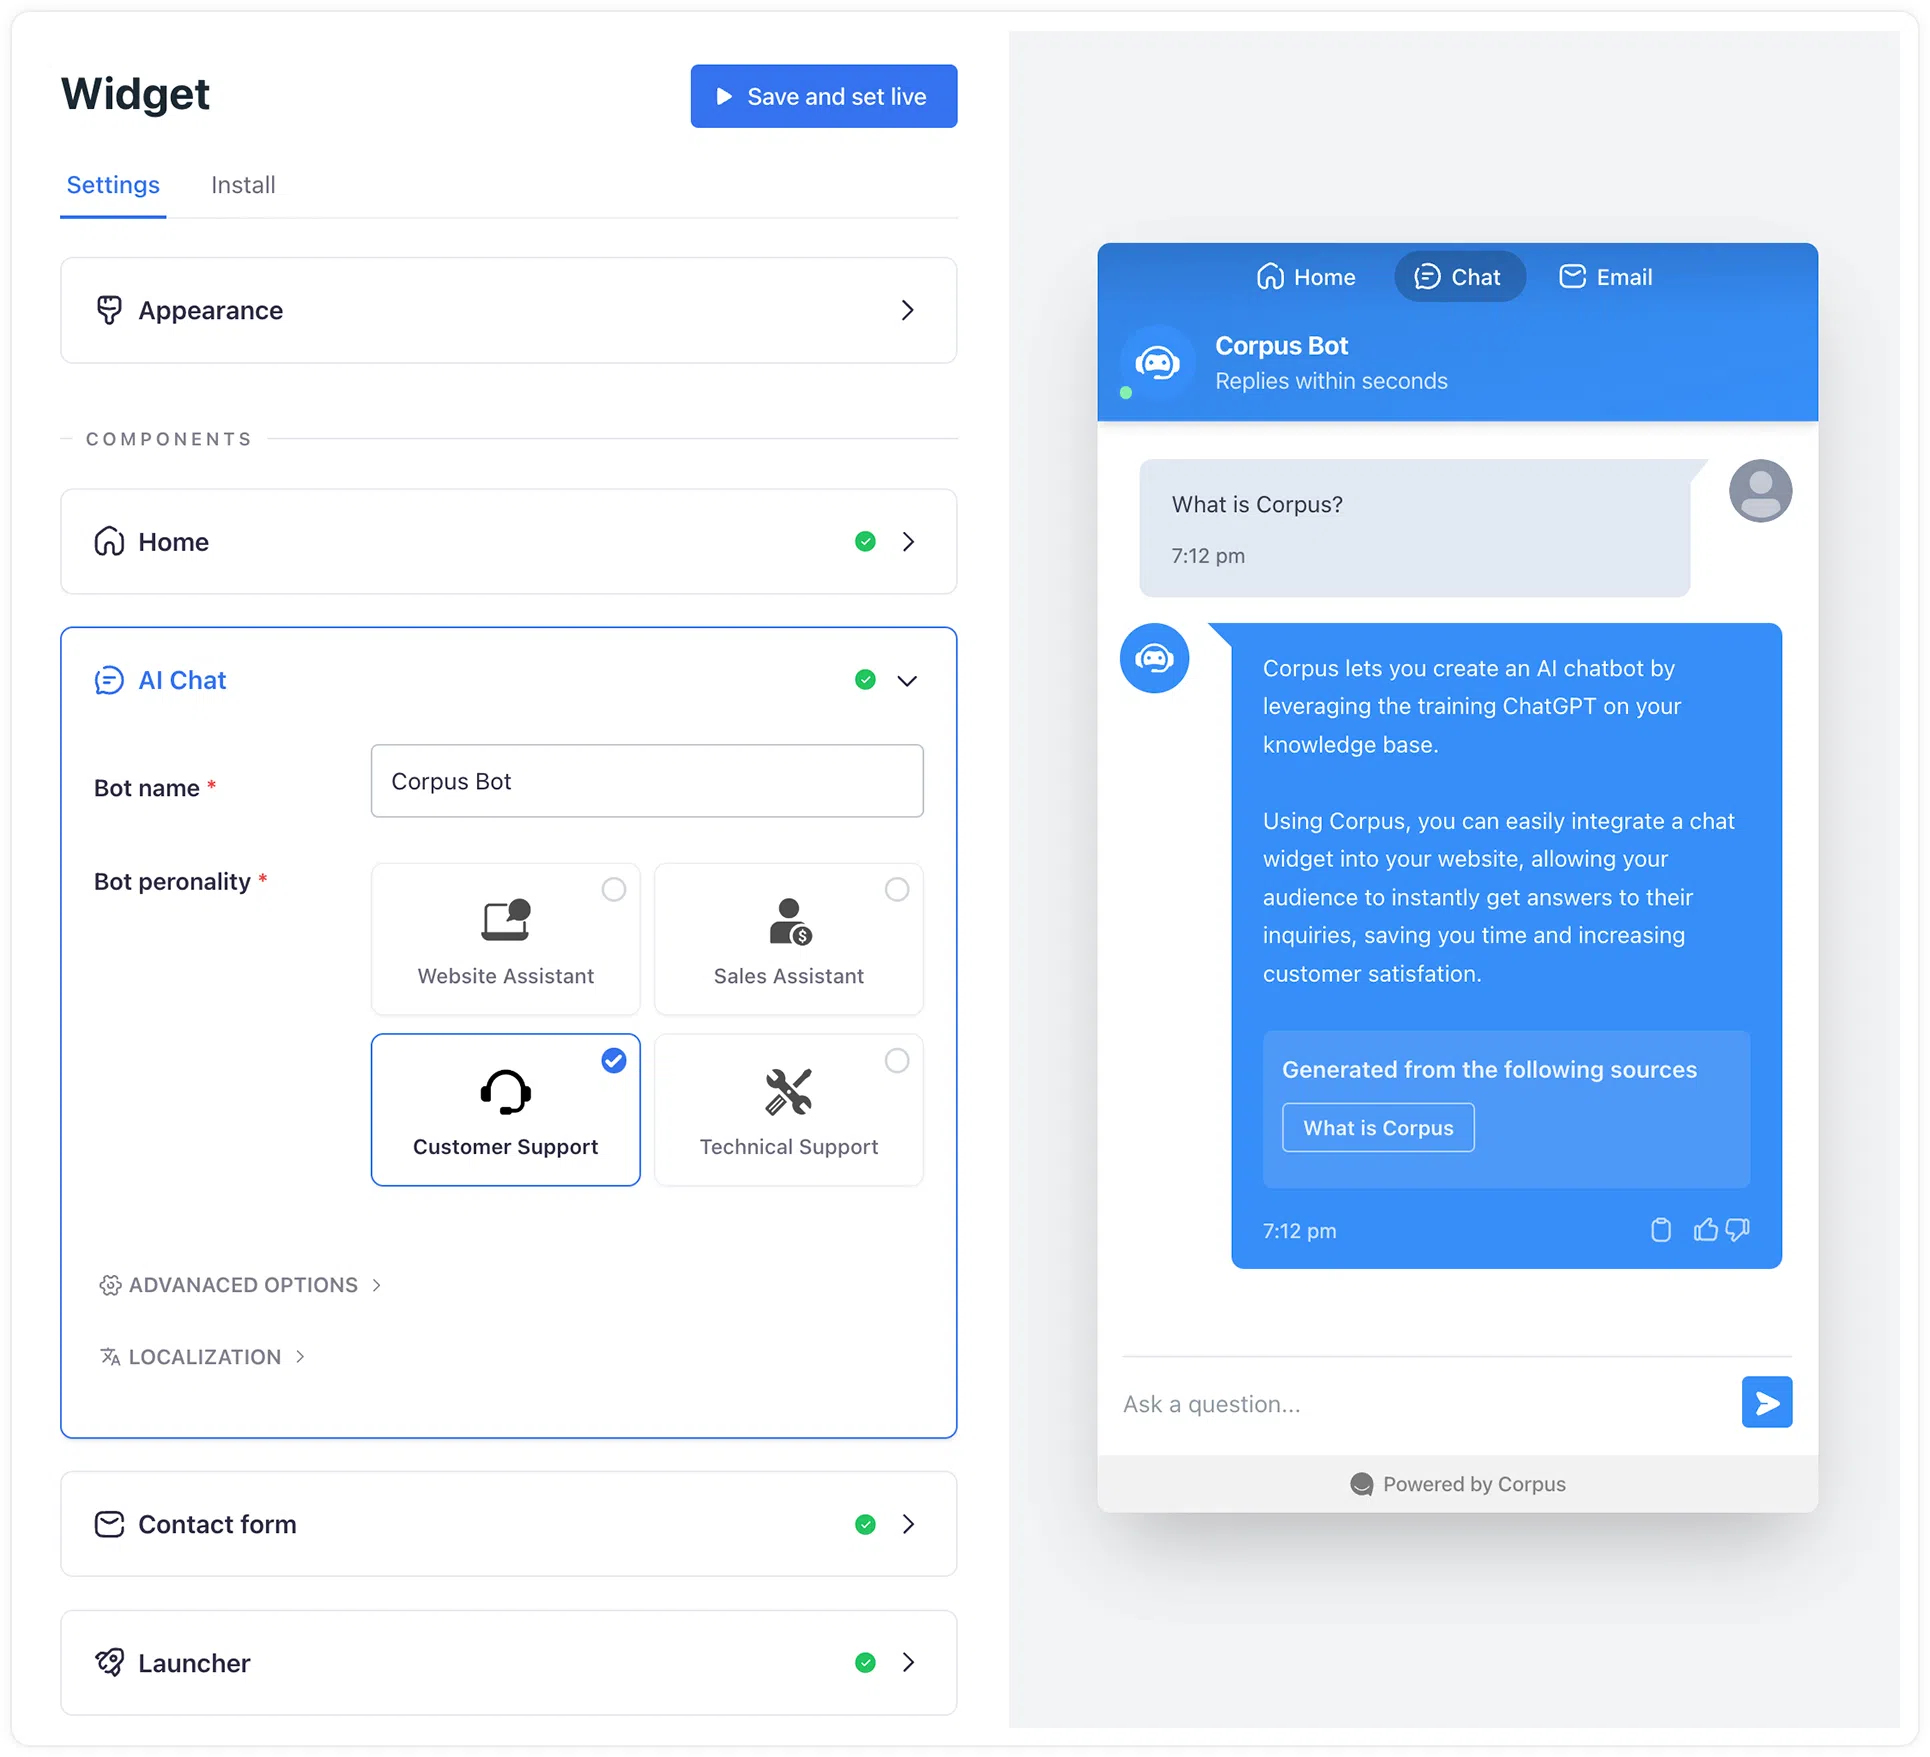
Sharing your chatbot
With customization complete, it's time to go live.
- Dedicated URL: Your chatbot is now accessible via a unique URL that you can share with your audience.
- Custom domain: If you have the Pro or Max plan, you can set up a custom domain for brand consistency.
- Website integration: Embed the chat widget on your website by including the provided JavaScript snippet in your site's code.
Your chatbot is now ready to engage with visitors, provide support, and capture leads.
Congratulations! Your Corpus chatbot is all set to transform your customer service experience. If you have any questions or need further assistance, our support team is here to help every step of the way.
* With your chatbot now set up and ready for interaction, the next crucial step is to optimize its responses. For detailed guidance on enhancing your chatbot's communication, visit our Optimizing Chatbot Responses page. This resource is invaluable for ensuring your chatbot operates at peak performance, providing users with the most accurate and helpful information.